Back to the BIM & IFC blog
Tools & comparisons · 2026-10-16 · 10 min
Check Clearances in an IFC Model: Corridors, Doors, Headroom and Ramps, with Pass or Fail
A design review rarely asks "how wide is this corridor?". It asks "is it at least 1.20 m?". Attaching the requirement to the measurement — and seeing pass or fail on the label, in the screenshot and in the export — turns a dimension into a check somebody can act on.
 Check Clearances in an IFC Model: Corridors, Doors, Headroom and Ramps, with Pass or Fail — IFC Viewer Online article cover
The dimension is rarely the point. A reviewer measuring a corridor wants to know whether it meets the brief; a site manager measuring headroom under a duct wants to know whether a person or a pallet truck gets through. Writing "1.14 m" in a comment leaves the comparison to whoever reads it — and they may not know the requirement.
So the measurement carries its requirement. You state "at least 1.20 m" once, the label in the model shows a tick or a cross, the panel says "fails by 6 cm", and the export has a column that says Fail. That is what a check looks like when it leaves your screen.
Key takeaways
- Measure clear widths square to the face: distance tool, perpendicular mode.
- Clear height is one click on the floor; the gap between two elements is two clicks, computed from their geometry.
- Add a requirement — at least, at most or between — or click a preset: corridor, door, headroom, ramp, turning circle, right angle.
- Check the right quantity: the value, the height (ΔZ), the slope in percent or a volume.
- Pass or fail shows on the 3D label (with ✓ or ✗, not only colour), in screenshots, in BCF snapshots and in the CSV.
- Presets are reference values, not your code. Set the number your regulation or brief requires and note the source.
Try it: measure a clearance and check it
Opens a sample IFC with the distance tool armed. Measure between two walls, select the measurement and click a preset such as "Corridor ≥ 1.20".
Open the interactive IFC viewer
Measure the clear dimension, not a diagonal
A clearance measured corner to corner across a corridor is always a little longer than the corridor is wide — and always in the direction that makes a failing corridor look compliant. Use the perpendicular mode: click the face of one wall, then the other wall, and the distance is taken square to the first face. For a door, measure between the frames (or the leaf and the stop), not between the wall openings.
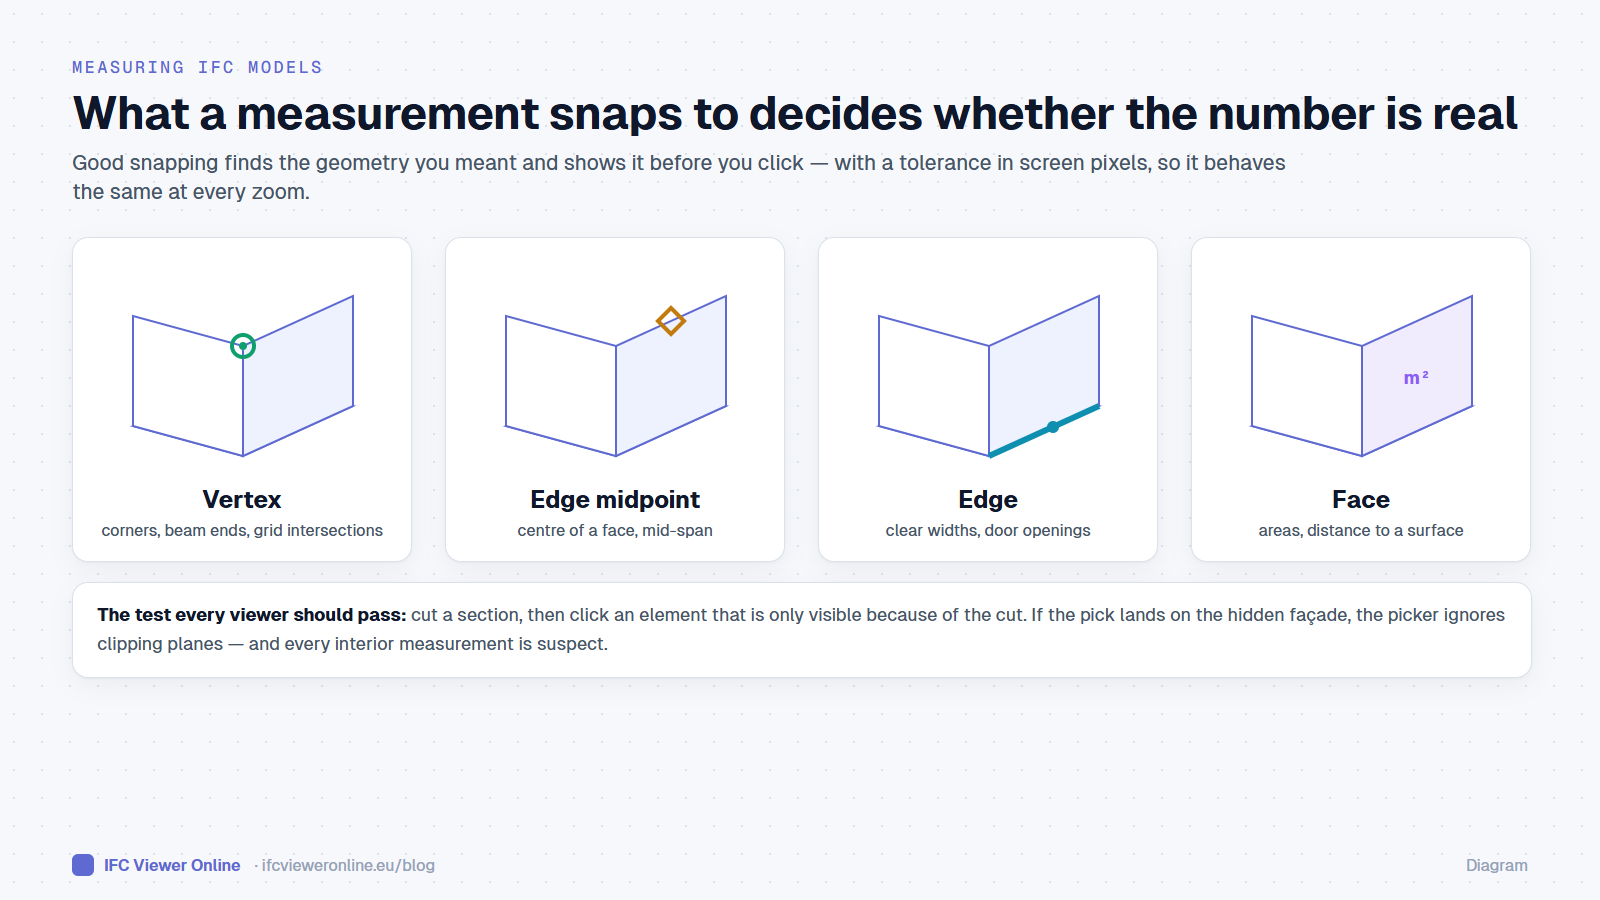
If the space you need is inside the building, cut it open first. A section box around one corridor, or a plan cut at working height on the storey, makes the walls you need clickable — and the picker respects the cut, so you do not measure the façade by accident. How to measure an IFC model online covers snapping and sections in detail.
Clear height in one click
Headroom measured by hand means two clicks — one on the floor, one on whatever is above — and the second click is the one people get wrong: the side of the duct instead of its underside, a point slightly off the vertical. The Clear height mode removes it. Choose Distance → Clear height and click the floor: a vertical ray goes up to the next surface, whatever it is — the slab, a beam, a duct, a suspended ceiling — and the measurement is drawn floor to underside, exactly vertical.
- Click a floor: measures up to the first surface above.
- Click a ceiling or the underside of a duct: measures down to the floor below.
- Click a wall or a column: measures floor to ceiling at that spot.
- With a section cut in place, the ray ignores whatever the cut removed, like every other pick.
Because it takes the first surface above, it answers the question a site walk asks: how much room is left under the lowest thing here. Click under the duct and you get the height to the duct; click a metre away and you get the height to the slab.
The gap between two elements
Some clearances are not between a point and a face but between two objects: a duct and the beam it passes under, a pipe and a wall, a door leaf and a column. Clicking the two closest points by eye is guesswork. Choose Distance → Between elements, click the first element, then the second, and the shortest distance between their actual geometry is computed and drawn between the two closest points.
- It uses the triangles of both elements, not their bounding boxes — two boxes overlap as soon as a duct runs under a sloping beam, and say nothing about the gap that is left.
- If the elements touch or cross, the result is 0 and it is marked as a clash, not as a clearance.
- Elements from different models work: a duct from the MEP model against a beam from the structural one.
- The result is an ordinary distance: add a requirement such as "at least 0.10 m" for a maintenance or insulation gap.
Add the requirement
Select the measurement in the panel. Under its breakdown there is a Requirement row with presets for the checks people repeat, and a "+ Requirement" button for anything else.
| Preset | Rule | What it checks |
|---|
| Corridor | ≥ 1.20 m | The measured distance |
| Door | ≥ 0.80 m | The measured distance (clear opening) |
| Headroom | ≥ 2.10 m | The height difference ΔZ of a vertical measurement |
| Ramp | ≤ 8 % | The slope between the two points, in percent |
| Turning | ≥ 1.50 m | A turning circle diameter |
| Square 90° | 89.5° – 90.5° | An angle measurement |
Values are typed in the unit you display (metres, centimetres, millimetres or feet) and stored in metres, so switching units later does not change the requirement. A tiny tolerance absorbs rounding: a corridor shown as 1.20 m does not fail a 1.20 m minimum because it is 1.1999 underneath.
Height and slope: checking the right number
A measurement has more than one number. A distance from floor to the underside of a duct has a length and a vertical component; a distance along a ramp has a length, a rise and a slope. The requirement chooses which one it checks: the value itself, the height (ΔZ), or the slope in percent. For headroom, use the Clear height mode — or, when you measure by hand from floor to obstruction, check the height, so a slightly slanted click does not inflate it. For a ramp, click the bottom and the top of the run and check the slope.
Reading pass and fail
- In the 3D view the label gets a green or red rim and a ✓ or ✗ after the value — readable without colour vision.
- In the list, a badge next to the value; the selected item says "Meets the requirement" or "Fails by 6 cm".
- At the bottom of the panel, a count: "Requirements met 7 / 9".
- If a requirement does not apply to the measurement — a slope on an angle — it says so instead of passing silently.
Sending the result
Checks are only useful once somebody else sees them. The pass/fail marks are painted into screenshots and into the snapshot of a BCF topic, so an issue about a narrow corridor carries the evidence in its image. The CSV adds Requirement, Check and Note columns next to the values, ready for a review log. For the issue round-trip, see BCF 2.1 vs 3.0.
Check Clearances in an IFC Model: Corridors, Doors, Headroom and Ramps, with Pass or Fail